
Emergency roof tarping serves as a crucial first step in mitigating damage after severe weather events. At The Shingle Master, we understand the importance of providing temporary protection against water infiltration, safeguarding your home from further harm until professional assistance can be sought for permanent repairs. Our expertise in assessing the extent of the damage and selecting the right materials for tarping helps homeowners fulfill insurance requirements while preventing costly repairs in Raleigh, NC. Quick action is essential, and our team is dedicated to ensuring peace of mind and minimizing potential structural issues during emergency situations.
Assessing Roof Damage After an Emergency
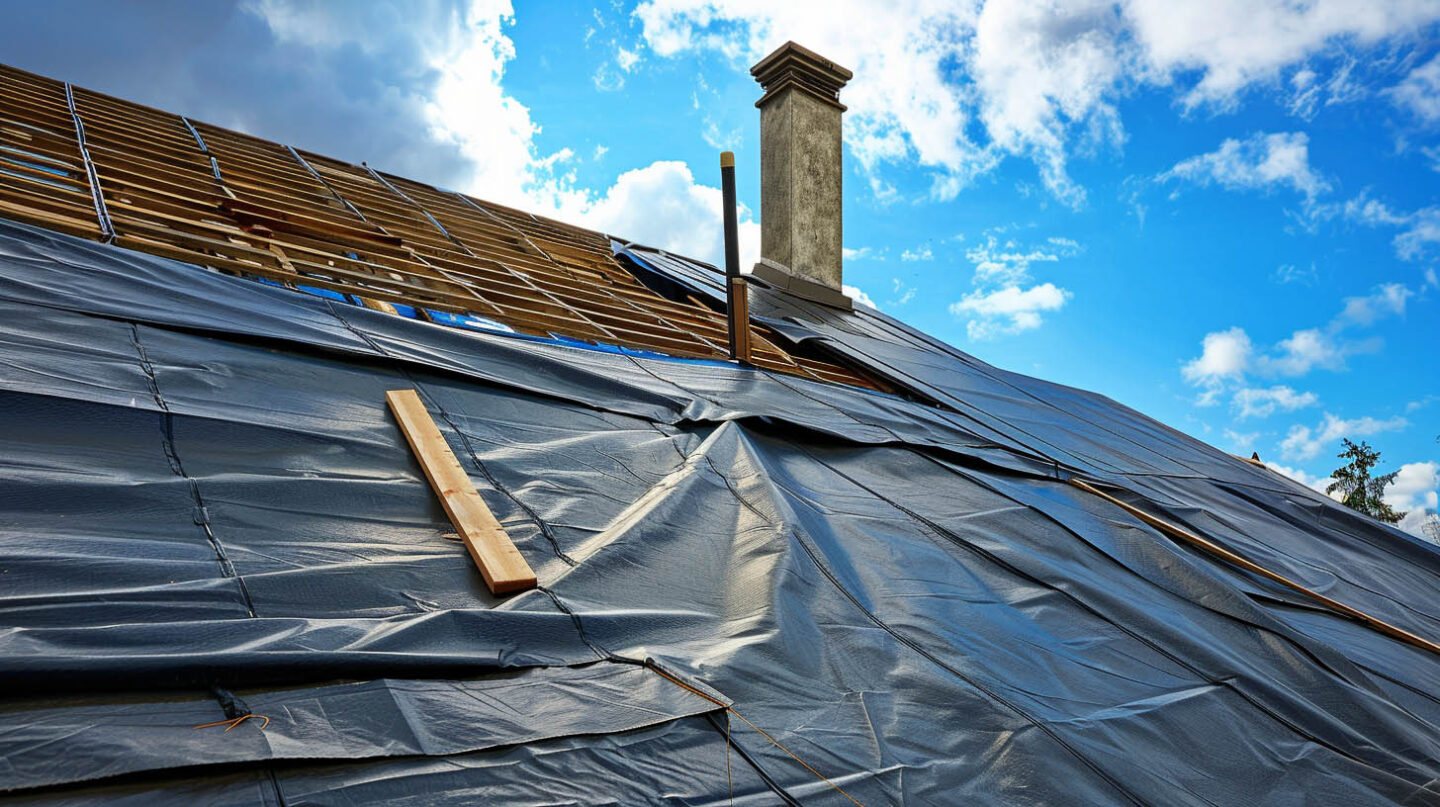
A thorough evaluation of roof damage following an emergency is essential for implementing effective emergency roof tarping. Start by identifying the extent of the damage, such as missing shingles or structural issues, as these factors dictate the urgency of repairs. Look for signs of water infiltration, which can lead to mold growth and further damage. By engaging a professional for a roof inspection, homeowners can obtain peace of mind and ensure they meet insurance requirements when filing claims for costly repairs.
Identifying Types of Roof Damage That Require Tarping
Various forms of roof damage necessitate immediate tarping to prevent further issues. Missing shingles and loose materials can lead to significant water infiltration during heavy rain or strong winds. Additionally, visible structural damage or extensive wear from prolonged exposure to storm damage indicates a critical need for emergency roof tarping. A comprehensive roof inspection reveals potential entry points for moisture, making quick action essential to mitigate costly repairs and avoid mold growth in emergency situations. Prioritizing prevention ensures lasting protection.
Signs Your Roof Needs Immediate Attention
Signs of roof distress can manifest as various indicators. Missing shingles, water stains on ceilings, or noticeable sagging are critical red flags that shouldn’t be overlooked. If heavy rain leads to water leaks or if extensive water intrusion occurs, immediate action is necessary to prevent further damage. Additionally, any visible mold growth signals potential structural issues requiring urgent repairs. When confronting these signs, seeking professional assistance ensures that the problem is accurately assessed and addressed before it escalates into costly repairs.
Choosing the Right Materials for Emergency Tarping
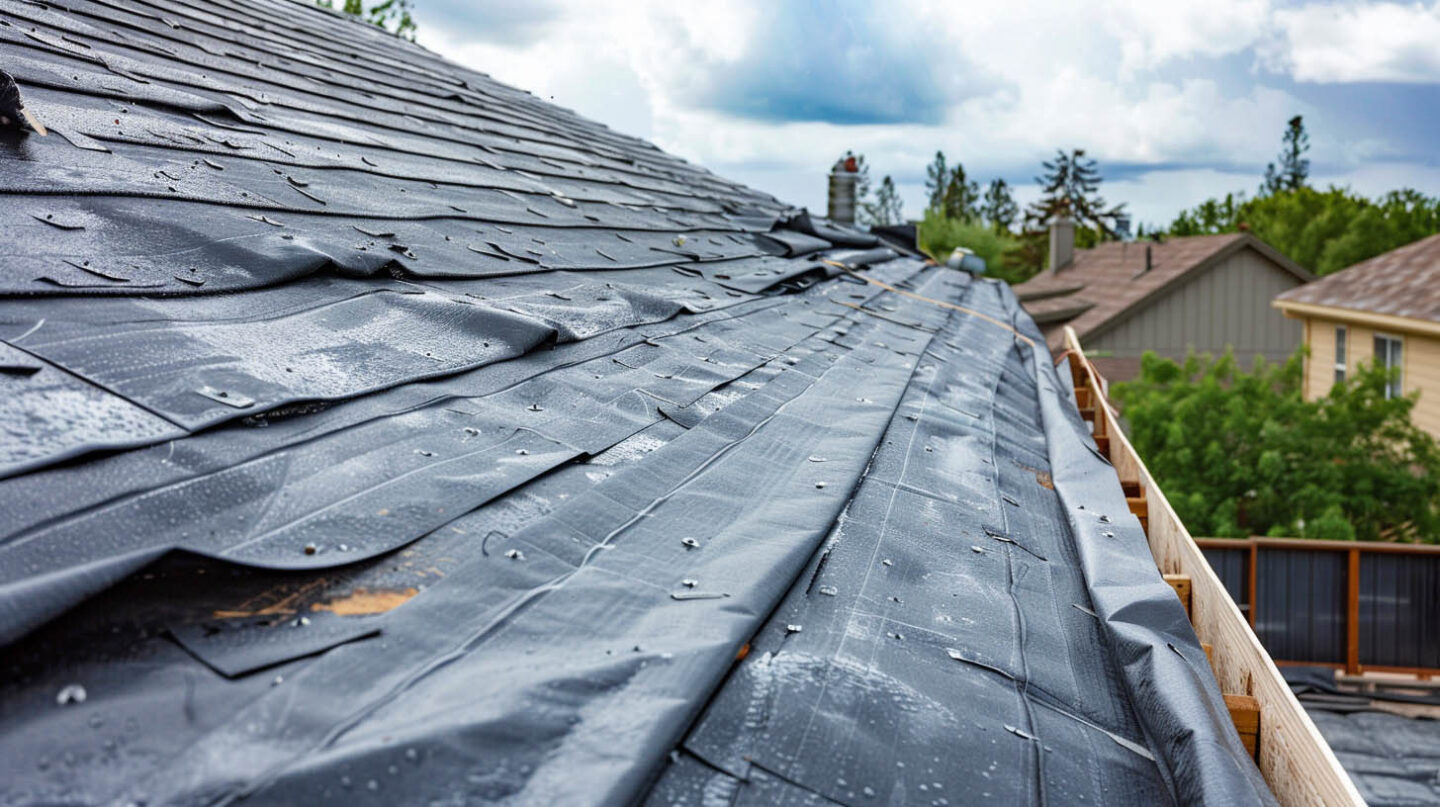
Selecting appropriate materials for emergency tarping is vital for effective temporary protection. A high-quality, water-resistant tarp can act as a first line of defense against water infiltration and further damage during severe weather. Look for tarps made from durable, tear-resistant materials that can withstand harsh conditions, such as strong winds and heavy rain. Additionally, ensuring you have the right tools—like a sturdy ladder and wooden boards for support—facilitates secure installation, enhancing your ability to mitigate the extent of any damage.
Best Types of Tarps for Storm Protection
Selecting the right tarp is vital for effective emergency roof tarping. Heavy-duty polyethylene tarps are often recommended due to their waterproof properties and durability against severe weather conditions. Consider those with reinforced edges and UV protection for added longevity. Additionally, tarps with grommets facilitate easier fastening, reducing the risk of further damage during strong winds. Opting for tarps that match the size of the damaged area will enhance water resistance, ensuring a temporary solution that helps prevent costly repairs down the road.
Tools and Accessories for Secure Installation
A well-equipped toolkit is essential for effective emergency roof tarping. Start with a sturdy ladder to safely access the damaged area, complemented by a tape measure for accurate sizing of the tarp. Robust tarping materials, such as water-resistant tarps and wooden boards, will enhance stability against severe weather. Using fastening methods like nails, screws, or heavy-duty tarp clips ensures that the edges of the tarp remain secured. This professional approach mitigates the risk of further damage and provides temporary protection until permanent repairs can be arranged.
Step-by-Step Guide to Effective Emergency Roof Tarping
Effective emergency roof tarping requires careful planning and prompt action to prevent further damage. Begin by assessing the extent of the damage, noting areas needing immediate attention. Use a sturdy ladder to reach the damaged area, ensuring you have the right tarp—ideally water-resistant and durable. Securely place the tarp over the area, fastening it down using nails or screws, and consider overlapping technique for larger sections. Finally, check the edges of the tarp for potential water infiltration points, ensuring a thorough seal.
Safety Precautions for Homeowners
Inspections of your roof should be done with the utmost safety in mind. Use a sturdy ladder and a safety harness to prevent falls when accessing the damaged area. Avoid working during severe weather, as strong winds and rain can increase risks. In addition, always inform someone of your whereabouts while performing emergency roof tarping to ensure prompt assistance if needed. Handling sharp tools and roofing materials requires caution to prevent injuries, safeguarding both your well-being and your property during this critical operation.
Preparing and Measuring the Damaged Area
Assessing the damaged area involves both preparation and careful measurement, ensuring a successful emergency roof tarping. Start by clearing debris and ensuring the area is accessible, as this provides a safe environment for temporary solutions. Use a tape measure to determine the exact dimensions of the affected zone, factoring in any structural issues. Accurate measurements facilitate the selection of the right tarp size, preventing further water infiltration and potential mold growth, while also aiding in accurate insurance claims later on.
Proper Tarp Placement Techniques
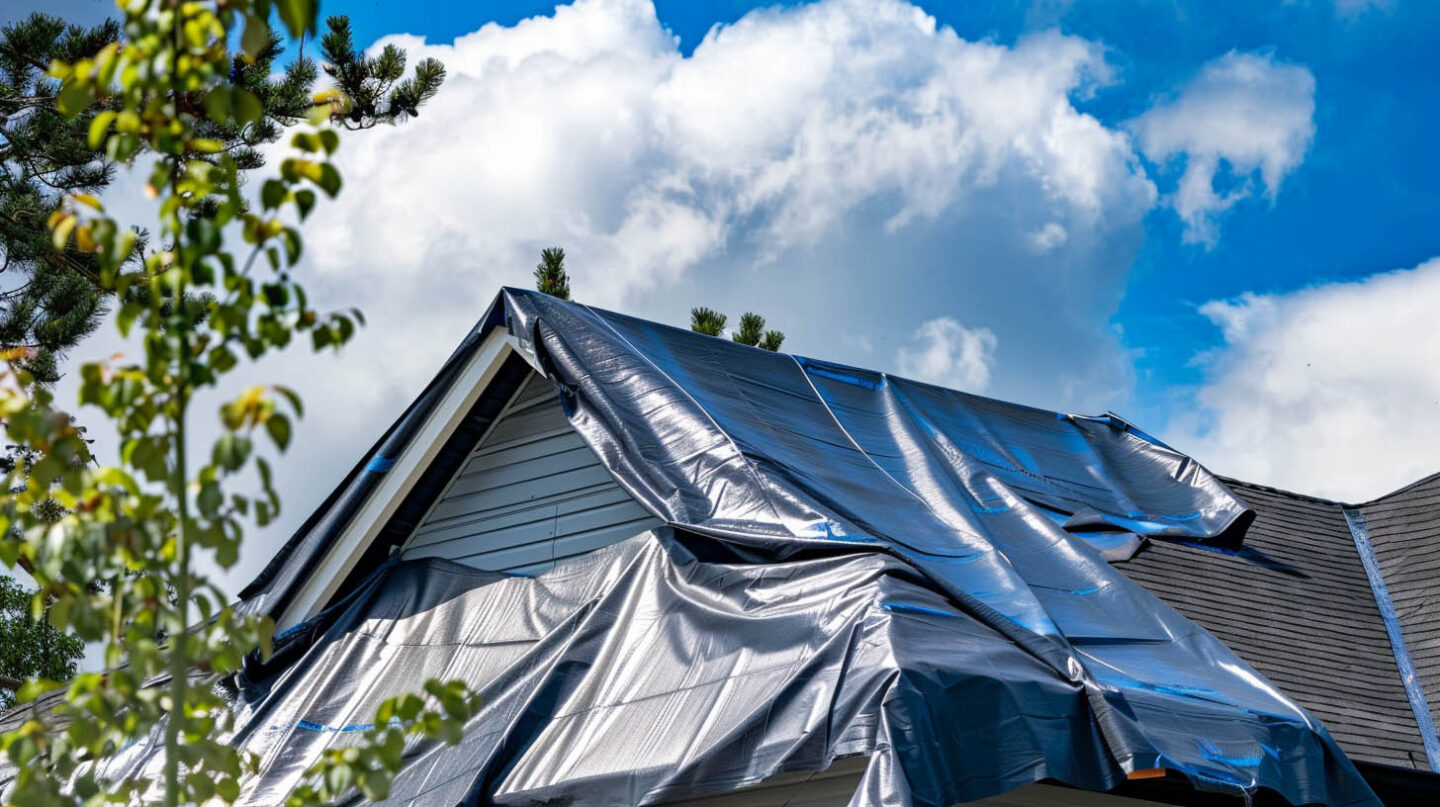
Careful placement of the tarp is essential to ensure effective temporary protection from weather conditions. Begin by measuring the damaged area with a tape measure, ensuring the tarp extends well beyond the edges to prevent water infiltration. Securely fasten the tarp using nails or screws at the edges, and consider overlapping multiple tarps to cover extensive damage. Avoid leaving loose edges, as these can become air pockets during strong winds, leading to further harm. Always prioritize safety by using a sturdy ladder and a safety harness during the process.
Securing Tarps to Withstand Wind and Rain
Taking the right approach to securing tarps is vital, especially in severe weather conditions. Utilizing fastening methods such as nails, screws, and sturdy wooden boards ensures that the tarp remains attached, mitigating the risk of water infiltration. Overlapping tarps can provide additional coverage for extensive areas, preventing further damage. Always aim for a tight and secure installation, as this crucial step enhances the tempory protection offered by the tarp, safeguarding your home from costly water damage and potential structural issues.
Fastening Methods: Nails, Screws, and Alternatives
Selecting the right fastening method is essential for effective emergency tarping. Nails and screws offer robust options, creating a secure attachment that withstands high winds and heavy rain. However, alternatives such as wooden boards or weighted objects can provide added stability, particularly in emergency situations. Each method should be evaluated based on the specific weather conditions and extent of the damage. A well-fastened tarp not only acts as a temporary solution but also prevents further damage and water intrusion, ensuring peace of mind during repairs.
Overlapping Techniques for Large or Multiple Damaged Areas
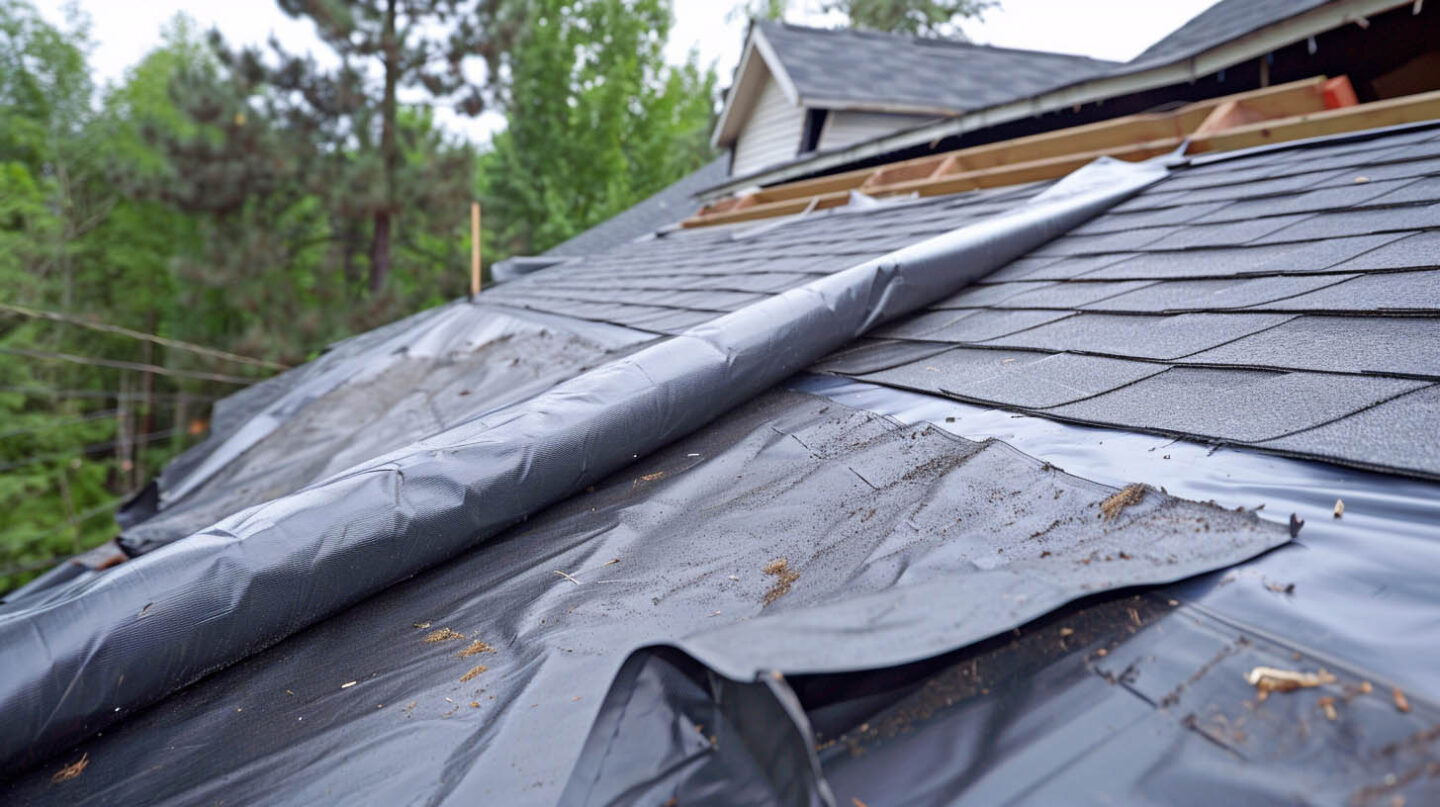
Effective overlapping techniques are essential when addressing large or multiple damaged areas on a roof. Start by positioning the tarp over the most severely affected sections, ensuring that the edges of the tarp extend beyond the damaged area. Securely overlap each subsequent tarp section by at least three feet to prevent water intrusion. This method not only enhances water resistance but also minimizes the risk of further damage during severe weather. Properly secured overlaps offer vital temporary protection until permanent roof repairs can be conducted.
Get in Touch
Effective emergency tarping serves as a crucial first step in mitigating further harm to your roof and home. Utilizing the right materials and techniques not only provides temporary protection but also facilitates smoother insurance claims and permanent repairs. Remember, acting swiftly can prevent additional water damage and costly repairs down the line. Whether facing severe weather or unexpected roof leaks, knowing emergency tarping best practices can provide peace of mind during stressful situations. As a GAF Master Elite Contractor, BBB A+, Haag Certified Inspector, NC Licensed General Contractor, and recognized as Raleigh’s Best Roofing Contractor, we stay proactive and prepared for any emergency.
Frequently Asked Questions
What are the best practices for emergency roof tarping in 2025?
In 2025, best practices for emergency roof tarping include using durable, UV-resistant materials, ensuring secure fastening to withstand severe weather, and prioritizing safety by wearing protective gear. Always measure the area accurately and cover larger sections with overlapping tarps for optimal protection.
What should I consider when choosing materials for emergency roof tarping?
When selecting materials for emergency roof tarping, consider durability, water resistance, UV protection, and weight. Ensure the tarp can withstand harsh weather conditions and avoid materials that may tear easily or degrade quickly to protect your home effectively.
Read our blog: Prorated vs Non-Prorated Roof Warranties: What’s Covered