
A well-constructed roofing system demands attention to detail, especially when it comes to the installation sequence of essential components. At The Shingle Master, we understand the importance of the relationship between drip edge and underlayment for preventing water intrusion and ensuring a secure installation in Raleigh, NC. Our team is committed to proper alignment of these materials, which not only contributes to enhanced durability but also reinforces compliance with local building codes. By adhering to manufacturer guidelines and industry best practices, we help homeowners protect their investment against severe weather and potential water damage.
Understanding Drip Edge and Underlayment
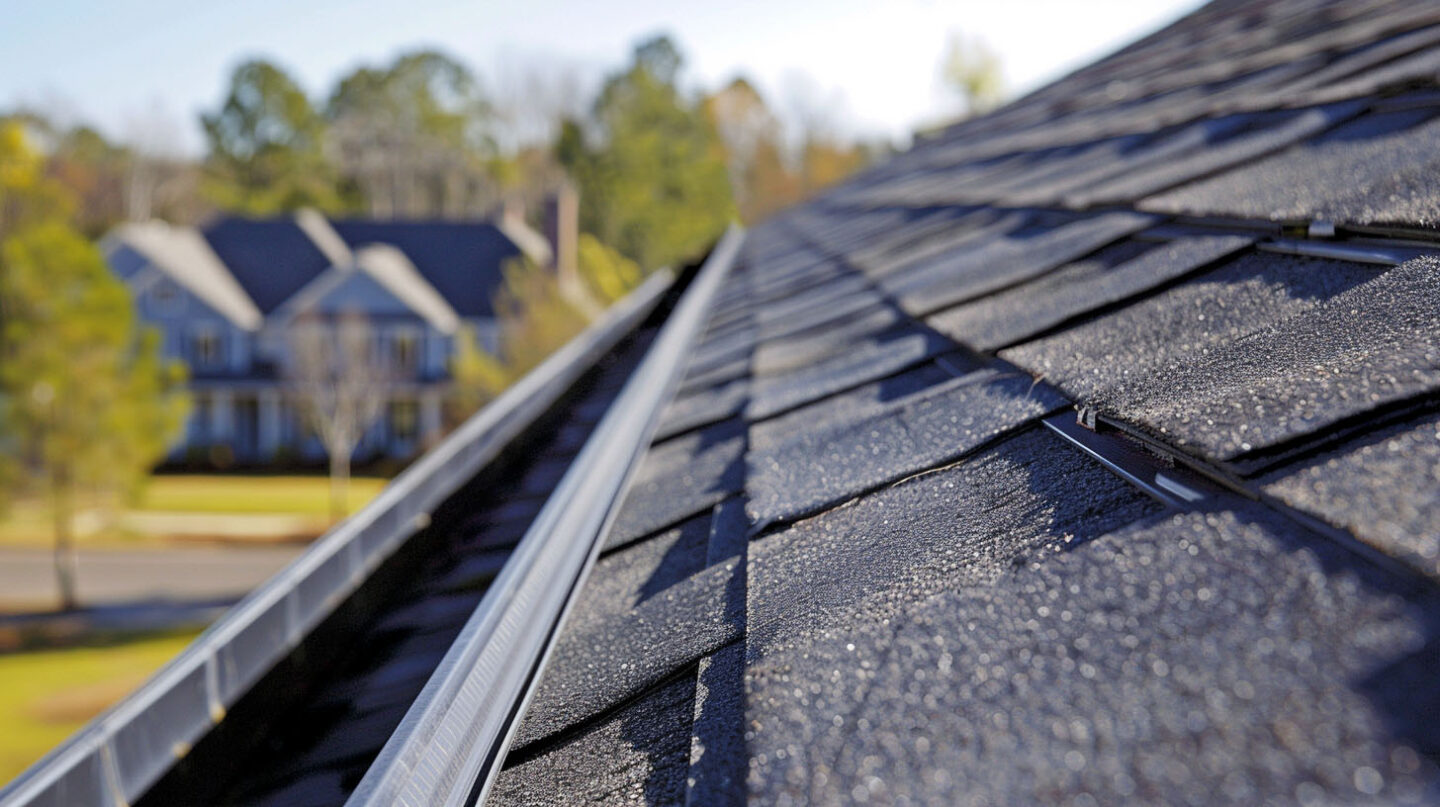
Drip edge and underlayment are integral components of any roofing system, providing both protection and durability. The drip edge, often constructed from metal, directs water away from the roof edges, preventing water infiltration and damage to the underlying materials. Underlayment, available in synthetic and felt options, serves as an additional barrier against moisture. Following manufacturer guidelines ensures proper installation, aligning these elements correctly not only enhances the roof’s performance but also meets local building codes and safety standards.
What is a Drip Edge and Why is it Essential?
A drip edge is a crucial component of roofing systems, designed to direct water runoff away from the fascia and underlying structures. It prevents moisture damage, protects shingles, and enhances roof longevity, thus ensuring effective drainage and overall durability of the roofing system.
Types of Roofing Underlayment: Synthetic vs. Felt
Various options exist for roofing underlayment, particularly synthetic and felt varieties. Synthetic underlayment offers enhanced durability and resistance against water damage, making it ideal for severe weather conditions and strong winds. Conversely, felt underlayment, while traditional, may be more susceptible to water infiltration and requires a proper seal for effectiveness. Both materials necessitate adherence to manufacturer guidelines and local building codes to optimize roofing system performance, ensuring secure installation and minimizing the risk of common mistakes during the installation process.
The Importance of the Correct Installation Sequence
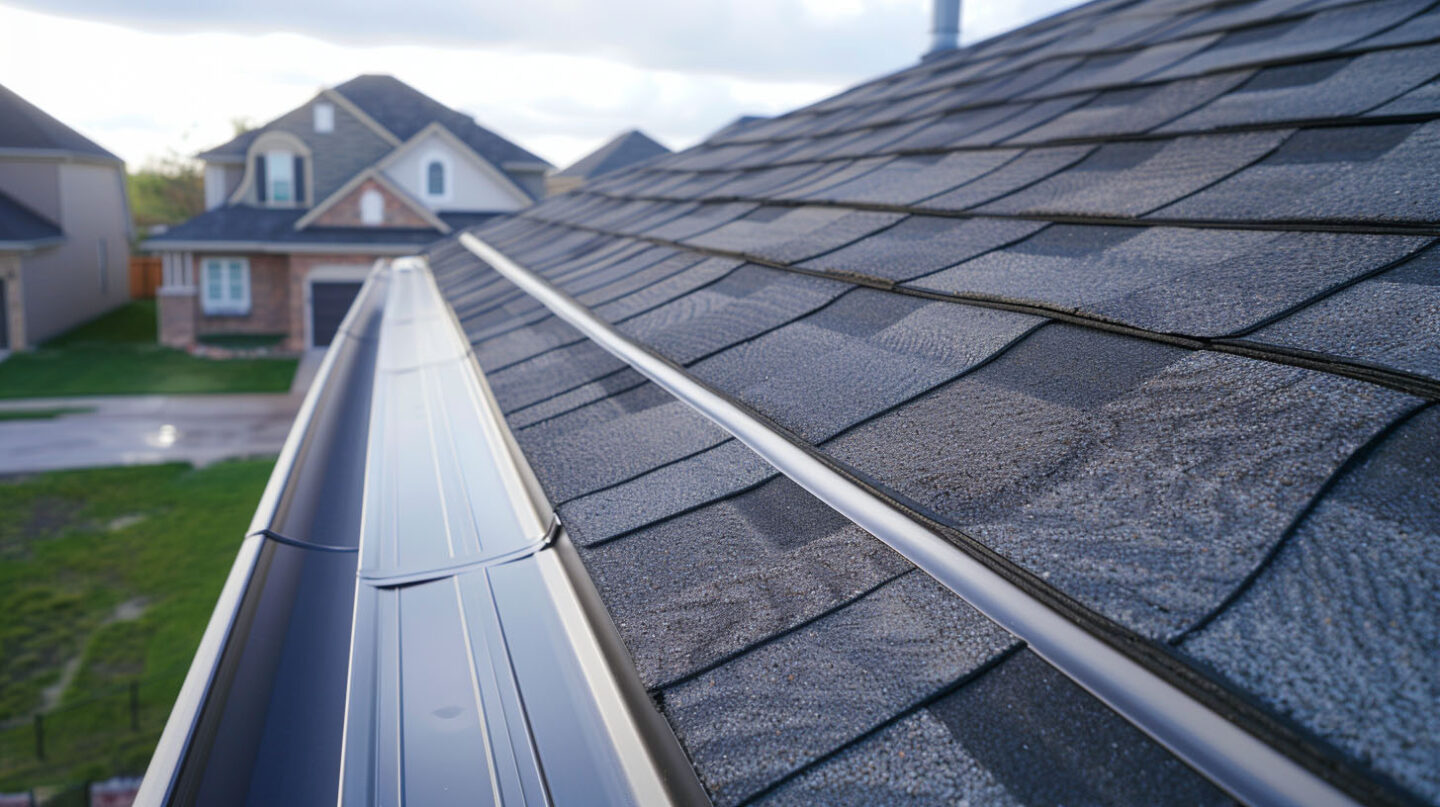
A precise installation sequence is vital for ensuring the durability and performance of the roofing system. Following the manufacturer’s guidelines for both drip edge and underlayment can significantly reduce the risk of water intrusion and damage. Proper alignment of these materials not only adheres to local building codes but also fortifies the roof against severe weather conditions. Neglecting the correct order can lead to common mistakes like improper sealing, resulting in costly repairs down the road.
How Sequence Affects Roof Durability and Performance
Correct installation sequence significantly impacts the durability and performance of a roofing system. When roofing underlayment is placed above the drip edge, for example, it creates a vulnerable point for water infiltration, potentially leading to water damage over time. Adhering to manufacturer guidelines ensures a secure installation that withstands severe weather and reduces common mistakes. Achieving proper alignment and sealing at the edge of the roof is essential for protecting the roof deck and increasing the overall longevity of the roofing material.
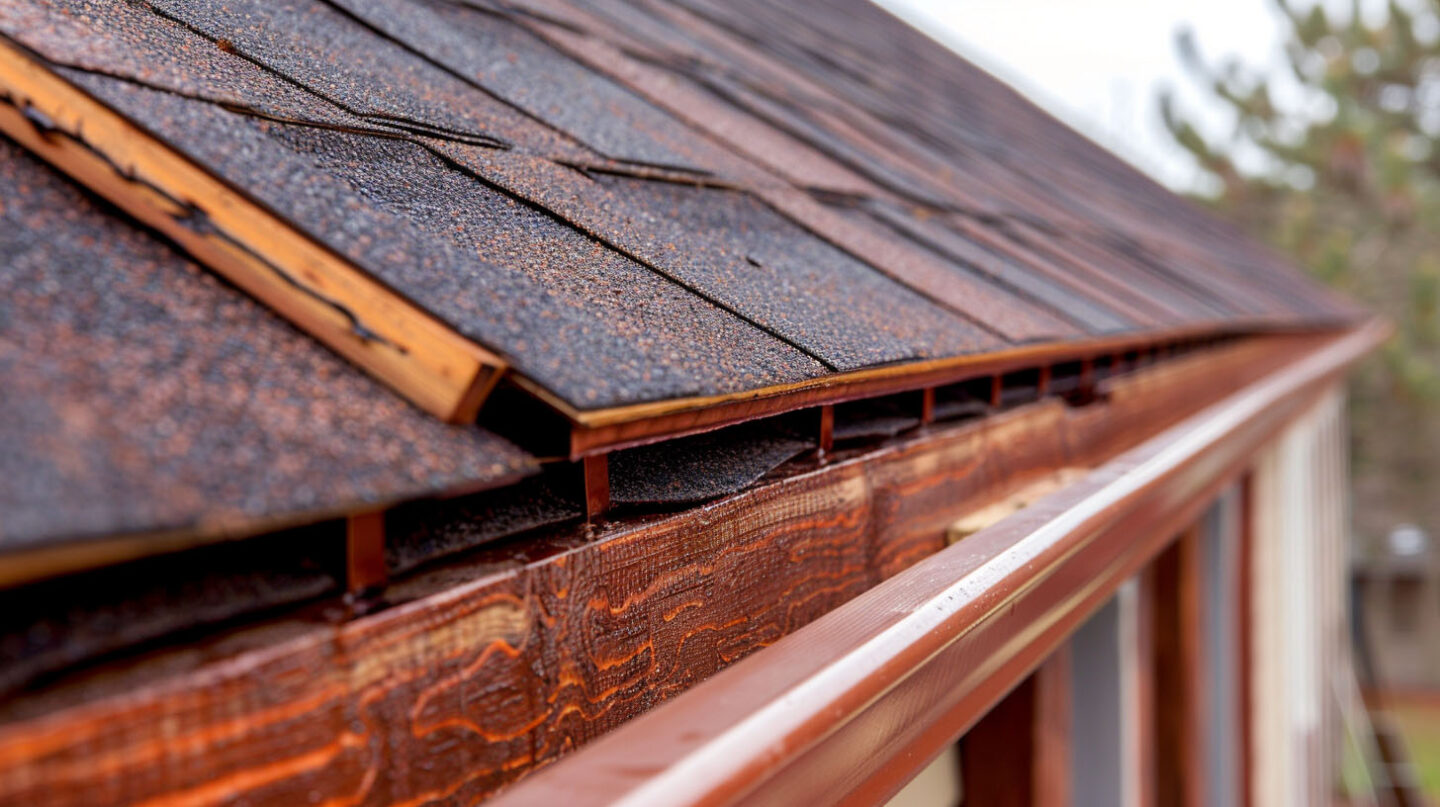
Common Issues from Incorrect Drip Edge or Underlayment Order
Misalignment during the installation sequence of drip edge and underlayment can lead to significant vulnerabilities in your roofing system. Water intrusion often results when the drip edge is not properly installed before the underlayment, allowing moisture to seep beneath and cause potential damage to the roof deck. Additionally, failure to follow manufacturer guidelines can compromise the roof’s ability to withstand severe weather conditions, resulting in expensive repairs and a decrease in overall durability. Adhering to best practices is essential to prevent these common mistakes.
Tools and Materials Needed for Proper Installation
Essential Tools for Drip Edge and Underlayment
A successful installation of drip edge and underlayment hinges on having the right tools at hand. Essential items include roofing nails, which secure the underlayment material to the roof deck, and tin snips for precise cutting of drip edge flashing. Additionally, a chalk line aids in achieving proper alignment along the roof edge, ensuring a straight and secure installation. To enhance efficiency and comply with safety standards, investing in a quality roofing hammer can also streamline the process.
Material Recommendations and Brand Partnerships
Selecting the right materials for a roofing project significantly influences the overall performance and longevity of the system. For drip edges, quality materials such as aluminum or galvanized steel ensure resistance to corrosion and severe weather conditions. Trusted brands like GAF and Owens Corning provide reliable roofing underlayment that meets local building codes, ensuring a secure installation. When choosing underlayment, consider synthetic options for enhanced water shield properties. Collaboration with reputable suppliers aids in obtaining materials that align with safety standards and manufacturer guidelines.
Trust the Experts
Successful installation of drip edge and underlayment is vital for optimal roofing performance and longevity. By adhering to the manufacturer’s instructions and local building codes, homeowners can significantly reduce the risk of water infiltration and damage caused by severe weather. Following the correct installation sequence ensures proper alignment and a secure installation that safeguards vulnerable areas, such as the corners of the roof and the edge of the drip edge. As a GAF Master Elite Contractor, BBB A+, and Haag Certified Inspector, we prioritize these best practices to provide peace of mind and protect your investment for years to come, all while being a NC Licensed General Contractor.
Frequently Asked Questions
Do you apply drip edge or underlayment first?
When installing roofing, underlayment should be applied first, followed by the drip edge. This sequence ensures maximum protection against water infiltration, allowing the drip edge to direct water away from vulnerable areas and enhancing overall roof durability.
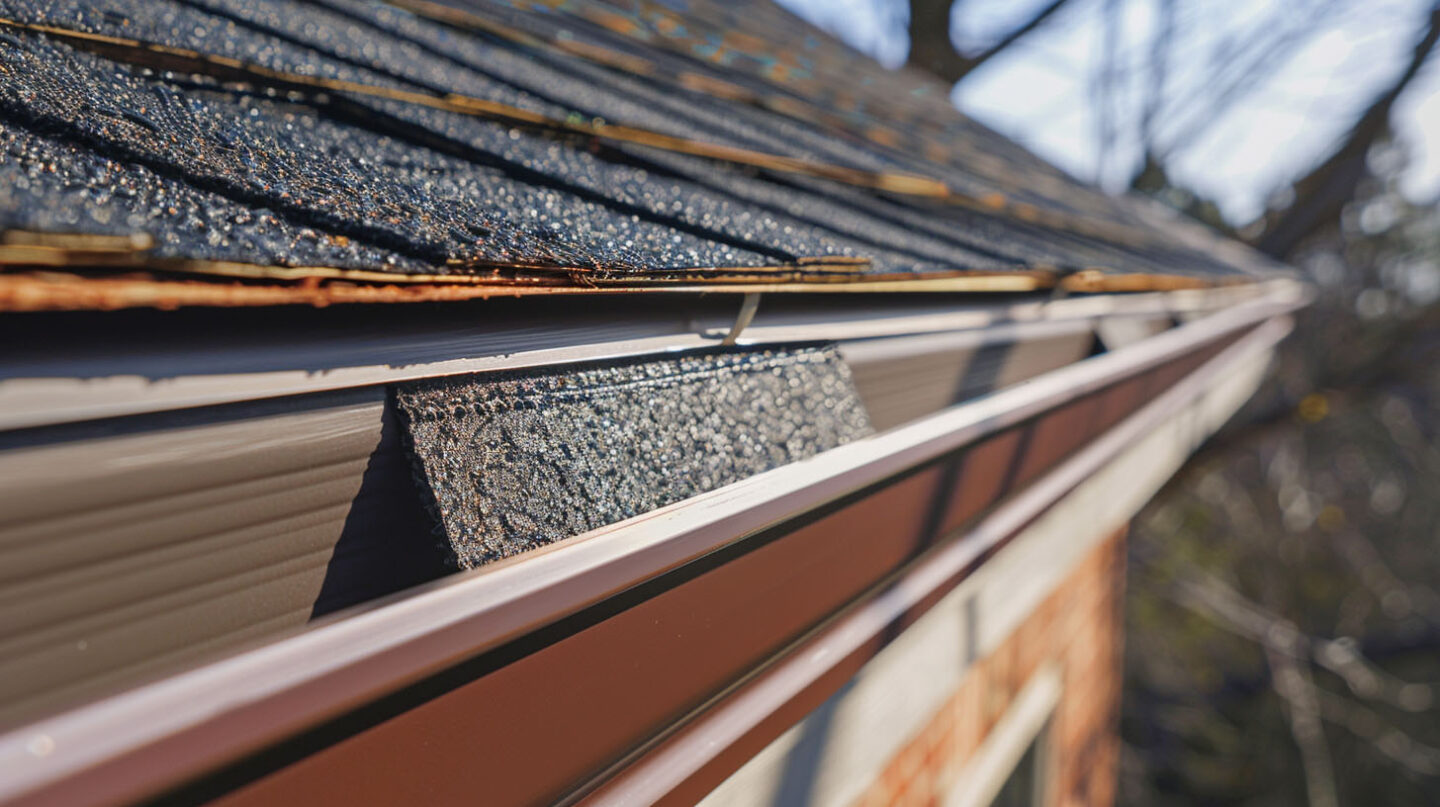
What is the correct way to install drip edge?
To install drip edge correctly, position it at the roof’s eaves before the underlayment. Ensure it overhangs the fascia and overlaps adjacent pieces to direct water away from vulnerable areas. Secure with roofing nails, maintaining proper alignment for effective drainage.
Does drip edge go on before or after shingles?
Drip edge goes on the roof first, before any roofing material like shingles. It helps keep water off the roof deck. It works with the underlayment. Drip edge makes sure the roof deck is safe from water, even before the shingles are put in place.
Read our blog: Future-Proofing for Solar: Structural & Wiring Prep on Re-Roofs