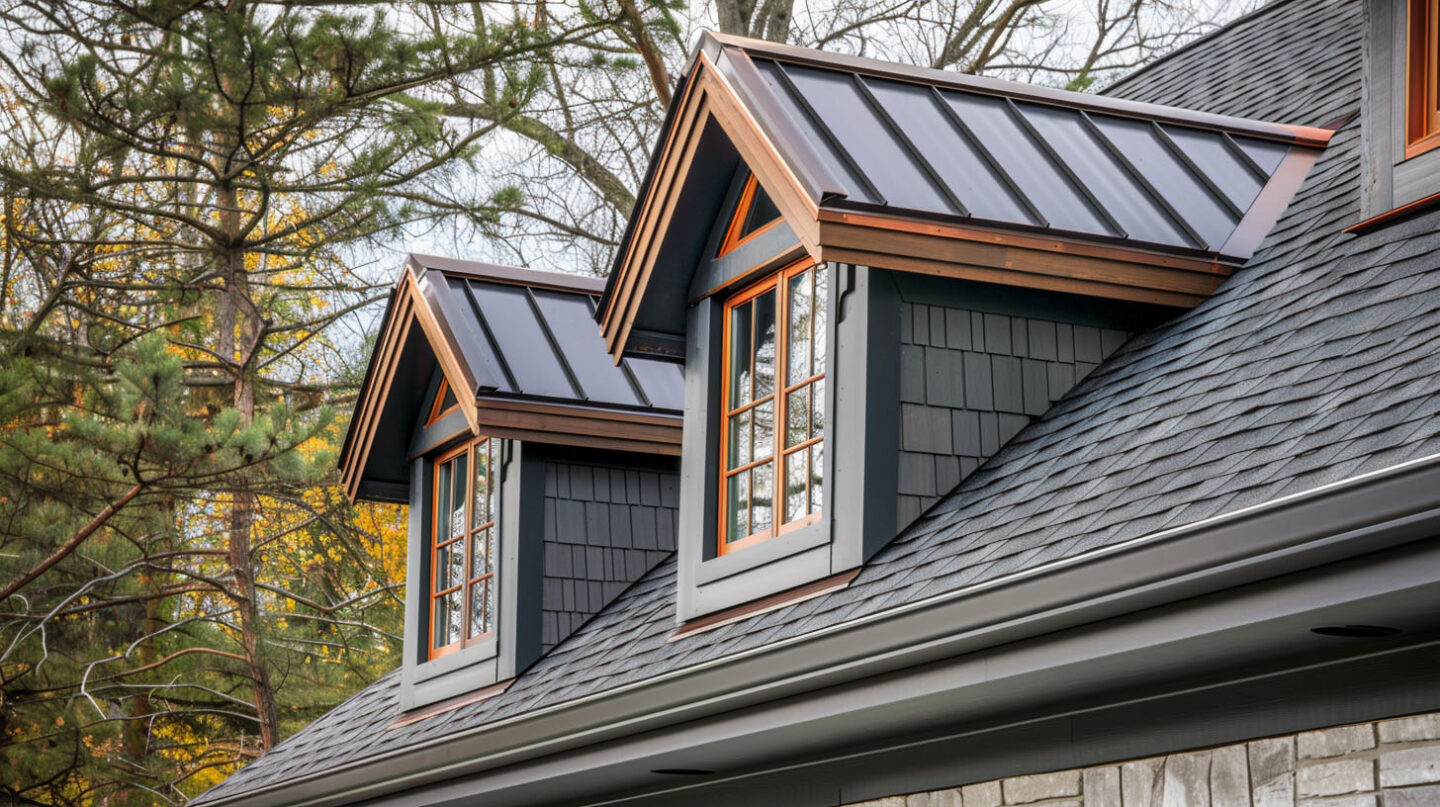
Your roof is the primary shield for your home in Durham, NC, but certain areas are more prone to leaks than others. The points where your roof meets a vertical wall, like the side of a dormer, are particularly vulnerable in this region. Without a proper seal, water can easily find its way in, leading to significant damage. This is where flashing plays its pivotal role. At The Shingle Master, our mission is to protect homes and families in Durham, NC with superior solutions, and that starts with understanding every detail of your roofing system, including the critical differences between step and counter-flashing.
Understanding Dormers and Wall Flashing in Roofing
When you look at a roof, you see shingles, but the parts that keep it truly watertight are often hidden. Dormers and wall intersections require a special type of flashing to prevent water from seeping into the gaps between the roof and the vertical surface.
This specialized metalwork, known as wall flashing, is designed to channel rainwater safely down your roof and into the gutters, something that professional roofers can assist with. Choosing the right roofing materials and flashing technique is essential for long-term protection. Let’s explore why this is so important for your home.
What Is a Dormer and Why Is Flashing Essential?
A dormer is a structural feature that protrudes from a sloped roof, adding space and light. Flashing is crucial as it directs water away, preventing leaks and damage at the intersection of the dormer and roofline, ensuring long-lasting integrity and protection.

Common Risks at Dormer and Wall Intersections
The junction where dormers meet walls is particularly susceptible to various risks, primarily due to moisture penetration. Inadequate flashing can lead to costly water damage, structural damage, and compromised integrity of the roofing system. Vulnerable areas, such as where the roof slopes meet the vertical surface, are often neglected during installation. Furthermore, local weather conditions can exacerbate these issues, increasing the likelihood of leaks and water intrusion, which could compromise the longevity of roofing materials and necessitate extensive repairs.
Step Flashing: Design, Purpose, and Installation
Step flashing is a fundamental component of roof flashing used wherever a sloped roof meets a vertical wall, such as a dormer or chimney. It consists of a series of L-shaped metal pieces that are woven into the roof shingles and shingle courses, creating a layered, staircase-like effect that directs water down the roof.
This method is highly effective at preventing leaks at these critical junctions. Because its success depends on precise layering, having an experienced roofing contractor like The Shingle Master handle the installation is crucial for a watertight seal.
How Step Flashing Protects Your Dormer and Wall Connections
Step flashing serves a pivotal role in safeguarding the junctions where dormers meet walls. By creating an overlapping system of waterproof barriers, it directs direct water away from vulnerable areas, minimizing the risk of water intrusion and potential structural damage. Proper installation of step flashing ensures that each piece is aligned with the roofing materials, including shingles or metal roofing, enhancing the overall longevity of the roofing system. Regular inspections can help homeowners identify any wear that may compromise these critical connections.
Proper Installation Techniques for Step Flashing
Correct installation of step flashing is critical for maintaining the structural integrity of dormer and wall intersections. Each piece of flashing should overlap properly, directing water away from vulnerable areas. Ensuring the base flashing integrates seamlessly with the roofing system enhances its effectiveness against water infiltration. Adequate underlayment beneath the step flashing will provide additional protection against moisture intrusion. Engaging a professional roofing contractor can help ensure that all local weather conditions and building codes are adhered to for optimal longevity and performance.

Counter-Flashing: Features, Functions, and Best Practices
Counter-flashing ensures no water can get behind the step flashing from above. It acts as a cap, completing the two-part system that delivers superior protection for your roof. It’s also used in other areas, such as with metal roofing or at roof valleys.
Key Benefits of Counter-Flashing at Dormer & Wall Intersections
Counter-flashing serves a pivotal role by effectively redirecting water away from vulnerable areas where dormers meet walls, significantly reducing the risk of water intrusion. This type of flashing enhances the longevity of roofing systems by protecting structural integrity, especially during extreme local weather conditions. Additionally, proper installation of counter-flashing can prevent costly water damage, ensuring that the underlayment and base flashing remain safeguarded against moisture buildup, which can lead to structural damage and leaks over time.
Installation Process and Common Applications
Proper installation of counter-flashing is essential for effective protection against water infiltration at dormer and wall junctions. Typically, this involves embedding the flashing into the masonry and ensuring it overlaps the step flashing. This layered approach mitigates potential water intrusion. Common applications include roofs with chimneys, skylights, or wall transitions, particularly where different types of roofing materials meet. By addressing vulnerable areas with the right flashing techniques, homeowners can enhance the longevity of their roofing system and safeguard against costly water damage.
What’s Next
Implementing appropriate flashing techniques, such as step and counter-flashing, is vital for protecting the structural integrity of dormers and walls. Attention to detail during installation can significantly mitigate risks associated with water intrusion and costly water damage. By understanding the different types of roof flashing and their specific functions, homeowners can ensure a durable roofing system that withstands local weather conditions. Investing in quality craftsmanship promotes the longevity of your roof, enhancing its overall performance and reducing potential maintenance issues down the line.

Frequently Asked Questions
What is a gable vs dormer?
A gable is the triangular upper part of a wall, typically forming the peak of a roof, while a dormer is an architectural feature that protrudes from the roof, often containing a window. Both elements enhance aesthetics and functionality in roofing designs.
How expensive is it to add a dormer?
The cost to add a dormer varies widely based on its size, style, and the roofing materials used. The project involves cutting into your existing roof, framing the new structure, and finishing both the interior and exterior. For an accurate estimate, it’s best to consult a licensed roofing contractor.
What are the two general types of dormers?
While there are many styles, two common types of dormers are the gable-fronted dormer and the shed dormer. A gable-fronted dormer has a small pitched roof with a gable at the front. A shed dormer has a single sloped roof plane that is less steep than the main roof.
Read our blog: Critters on the Roof: Prevention That Actually Works


