
Where your roof meets a vertical wall is one of the most vulnerable areas for water leaks. Without the proper installation of roof flashing, your home is at significant risk. This guide explains the critical techniques for installing step flashing and counter flashing at roof-to-wall intersections. Getting this detail right is not optional; it’s essential for protecting the long-term integrity of your home in Raleigh, NC.
Understanding Roof-to-Wall Flashing Basics
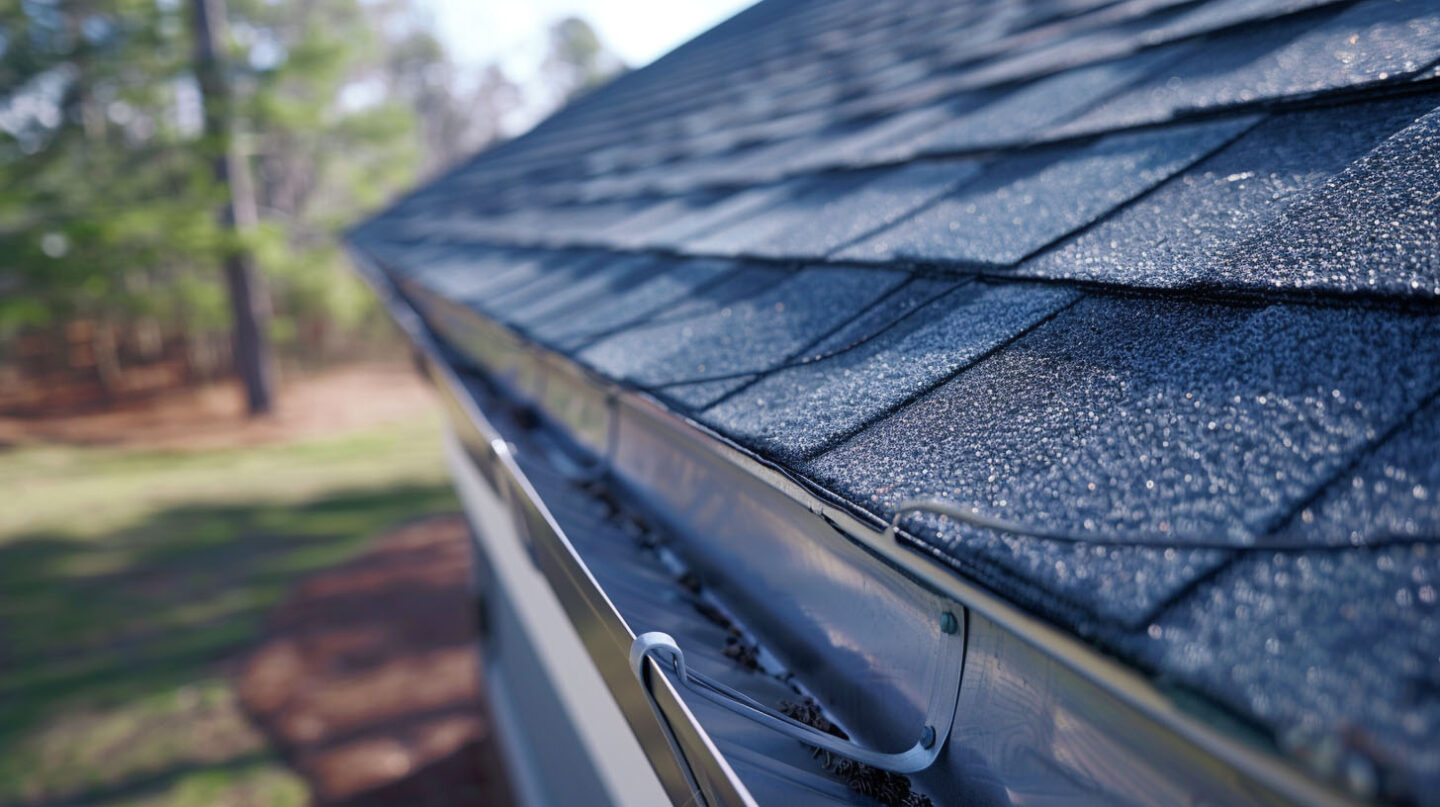
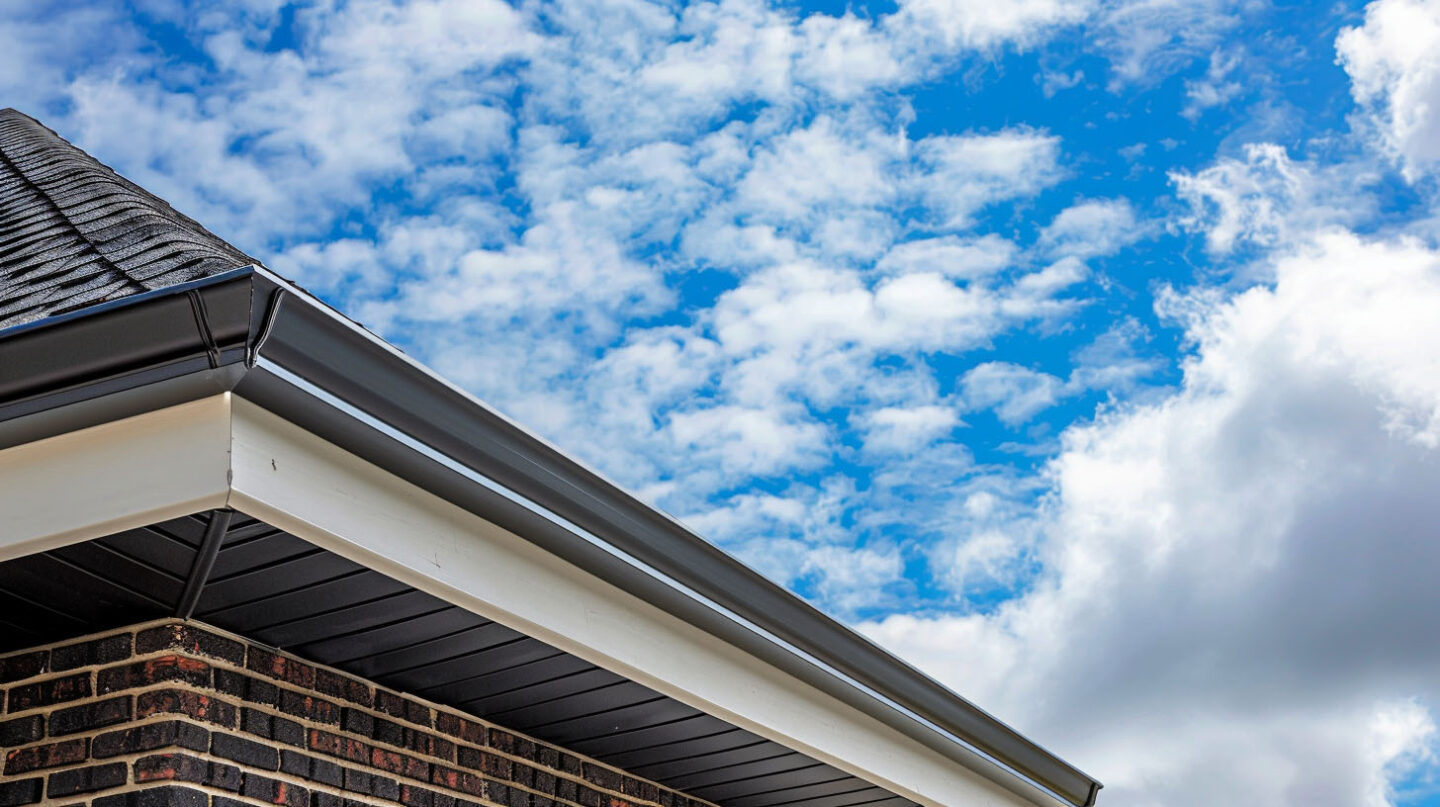
Roof flashing is a thin material, typically metal, used to direct water away from critical areas of your roof. At wall intersections, it creates a barrier that prevents water from seeping behind your siding and into the roof deck.
Without it, rainwater running down the roof surface and wall would easily find a path inside. Understanding the correct type of flashing and installation method for these joints is key to a long-lasting, leak-free roof. Let’s look at the two primary components used here.
What Is Step Flashing and How Does It Work?
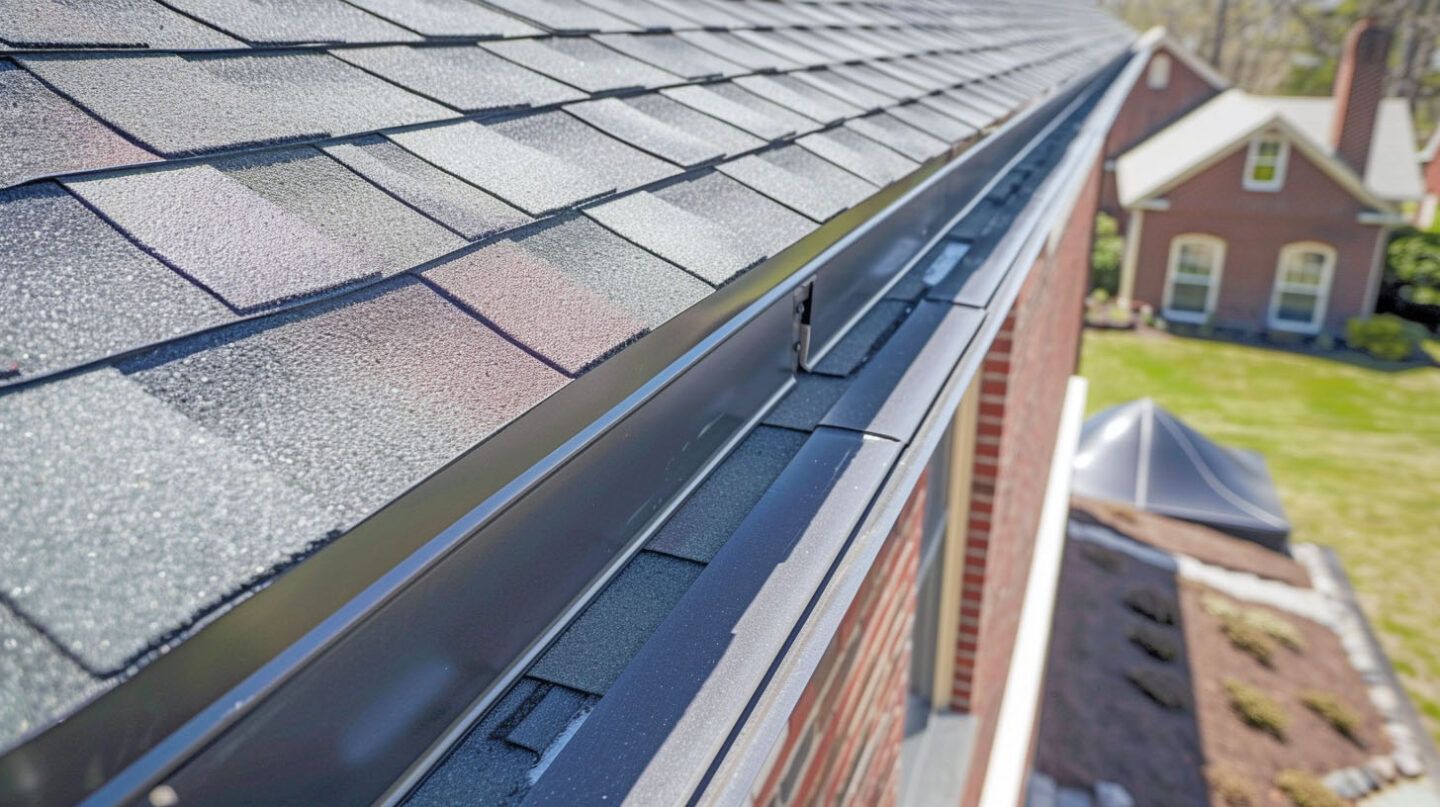
Step flashing uses individual L-shaped metal pieces at roof-to-wall intersections. Install the first piece over the starter shingle, then alternate shingles and flashing as you move up the roof. This layered method directs water away, with each piece nailed to the wall or roof deck for a continuous barrier.

What Is Counter Flashing and Its Role in Protection?
Counter flashing is a crucial protection element installed over step flashing at roof-to-wall intersections. It prevents water from seeping behind the wall, directing it away from vulnerable areas. Properly installed counter flashing significantly reduces the risk of leaks and subsequent structural damage.
Why Proper Flashing Matters
Improperly installed flashing is a primary entry point for water intrusion, leading to severe water leaks that compromise the structural integrity of your home. The entire roofing system depends on these small but mighty details to function correctly.
Components like kickout flashing are non-negotiable for guiding water away from your walls. Neglecting these areas can result in hidden damage that grows over time. Let’s explore the specific risks involved.
Preventing Water Intrusion and Mold
Effective installation of proper flashing techniques is crucial in preventing water intrusion and mold development at roof-to-wall intersections. A watertight seal at these junctions protects the integrity of your home by directing water away from vertical surfaces and safeguarding wall sheathing and claddings. Using appropriately measured kickout diverter flashing further aids in channeling runoff efficiently, minimizing potential damage from moisture ingress. Adhering to local building codes ensures that both new flashing and existing roofing systems maintain their protective capabilities against these common issues.
The Importance of Kickout Flashing to Direct Water Away
Kickout flashing serves as a critical component in roof-to-wall intersections, effectively directing water away from vulnerable areas. Its design ensures that moisture intrusion is minimized at the junction of vertical surfaces and roof planes. By properly integrating kickout diverters with step flashing, it enhances the integrity of your home’s roofing system, preventing potential damage from water ingress. Adherence to local building codes and best practices in its installation ultimately contributes to a watertight seal, ensuring lasting protection against water damage.
Recommended Materials for Step and Counter Flashing
Choosing the right material for your metal flashing is just as important as the installation itself. You need durable materials that can withstand years of exposure to the elements without failing. The flashing works together with your roof underlayment and building paper to protect the underlying wall sheathing.
Using cheap or incompatible materials is a recipe for premature failure. The investment in quality materials pays off by ensuring your roof remains protected for decades.
Galvanized Steel vs. Aluminum vs. Copper
Several metal options are available for flashing installations, each with unique characteristics. Galvanized steel offers durability and resistance to corrosion, making it a frequent choice in many roofing systems. Aluminum, being lightweight and resistant to rust, can be easier to work with, though it may not withstand extreme weather as well as other metals. On the premium side, copper flashing is aesthetically pleasing and exceptionally long-lasting, contributing to the overall integrity of your home while offering a watertight seal against moisture intrusion.
Choosing Durable Materials for Raleigh, NC Homes
For homes in Raleigh, NC, choosing durable materials that can handle our humid climate and heavy rains is a top priority. Galvanized steel and aluminum are excellent choices that meet local building codes and offer reliable, long-term performance.
As a GAF Master Elite Contractor, The Shingle Master is committed to using only high-quality, durable materials that are compatible with your specific wall claddings and roofing, whether it’s GAF shingles or James Hardie siding.
Following best practices means selecting a material that not only protects your home but also complements its style. We can help you choose the best option to ensure your home is protected for years to come.
Step-by-Step Guide to Installing Step Flashing
Proper installation of step flashing requires precision and an understanding of how water behaves. While this guide outlines the process, this job is best left to a professional roofing contractor to ensure every detail is correct. An error here can lead to major problems down the road.
The process involves preparing the roof surface and then carefully integrating each piece of flashing with the shingles. Here is how our experts at The Shingle Master handle this critical task.
Preparing the Roof and Wall Surfaces
Careful preparation of the roof and wall surfaces is essential for achieving a watertight seal. Begin by inspecting the vertical wall and ensuring it is clear of debris and any signs of damage. Verify that wall sheathing and building paper are properly installed, providing a stable foundation for the flashing. The underlayment must also be laid down correctly. This creates a seamless integration with the first course of shingles, ensuring that moisture intrusion is effectively prevented by the subsequent components of the roofing system.
Laying Shingles and Integrating Step Flashing
The first course of shingles plays a pivotal role in the integration of step flashing. Begin by aligning the initial shingle with the edge of the roof, ensuring it overlaps the top of the first piece of step flashing. As each subsequent shingle is laid, it must cover half of the piece of flashing below it, effectively creating a watertight seal against moisture intrusion. This layering technique not only meets local building codes but also fortifies the integrity of your home against potential water damage.
How to Install Counter Flashing Over Step Flashing
Once the step flashing is in place, installing counter flashing is the final step to creating a completely watertight seal. This component covers the top edge of the step flashing, protecting it from direct exposure to rain and preventing water from getting behind it.
This two-part flashing system is the industry standard for protecting roof-to-wall joints. Here’s how a professional ensures it’s done right.
Measuring and Cutting Counter Flashing
Accurate measuring is pivotal when installing counter flashing. Begin by determining the overall length required to cover the vertical sidewall and the desired area, ensuring that overhang extends adequately over the step flashing below. Use a level to mark cut lines, guaranteeing precision for a watertight seal. When cutting metal flashing, employ tin snips for clean edges and avoid jagged cuts that impair performance. Properly measured and cut flashing will enhance the integrity of your home, effectively preventing moisture intrusion and potential damage.
Securing and Sealing Counter Flashing Properly
Securing counter flashing requires meticulous attention to detail to prevent water intrusion. Begin by ensuring a watertight seal at the vertical surface against the adjoining wall. Use roofing nails to fasten the flashing, allowing the top of the cut to overhang the first course of shingles slightly. Apply a quality sealant along the edges to protect against moisture infiltration. This best practice not only enhances the integrity of your home but also aligns with local building codes to avert potential damage from water leaks.
Contact Us
Mastering proper step and counter flashing at roof-to-wall intersections is key to protecting your roofing system. Quality flashing prevents water intrusion and mold, keeping your home safe. Choose durable materials for Raleigh’s climate and follow our guide for reliable results. Investing in good flashing now can prevent costly future repairs. For customized solutions or commercial quotes, contact The Shingle Master—we’ll help protect what matters most.
Frequently Asked Questions
Are there special techniques for flashing on metal roofs?
Yes, metal roofs require specific metal flashing profiles that match the panel ribs and roof slope. Installation on a vertical sidewall often involves a Z-flashing and butyl tape for a watertight seal. Always consult a professional roofing contractor experienced with metal roofing systems.
What is step and kick out flashing at roof wall intersections?
Step flashing is a series of L-shaped pieces woven with shingles at roof-wall intersections. A kickout flashing, or kickout diverter, is a special piece placed at the bottom of the intersection to direct water away from the wall and into the gutter, preventing it from running down the wall.
Read our blog: Skylight Reflashing vs Replacement: Cost-Benefit Analysis